Utilizzare Filmora per aggiungere guide VFX ai video

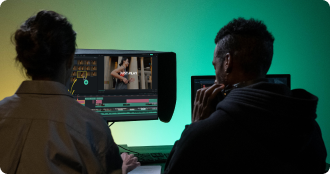
In questo video, con l'aiuto di Wondershare Filmora, esplora un modo unico per aggiungere effetti VFX al video. Sfoglia le tecnologie offerte, aggiungi gli effetti che preferisci e rendi intuitivi i tuoi video.
Key Steps of This Video Tutorial To Follow
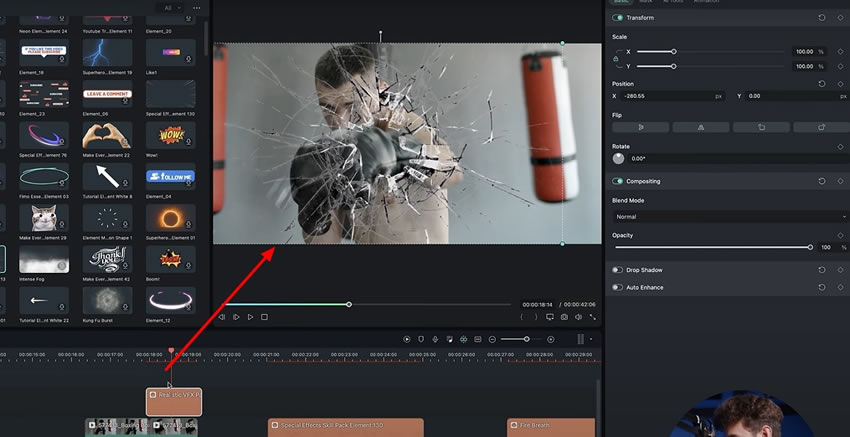
Avvia "Nuovo progetto" dall'interfaccia principale ed entra nell'interfaccia di modifica di Filmora. Importa il video registrato dal sistema nel pannello multimediale. Seleziona questo video importato e trascinalo sulla traccia della sequenza temporale. Successivamente, per aggiungere VFX, vai al menu Adesivi, dove troverai più opzioni tra cui scegliere. Scorri verso il basso fino a trovare il VFX desiderato dall'elenco.
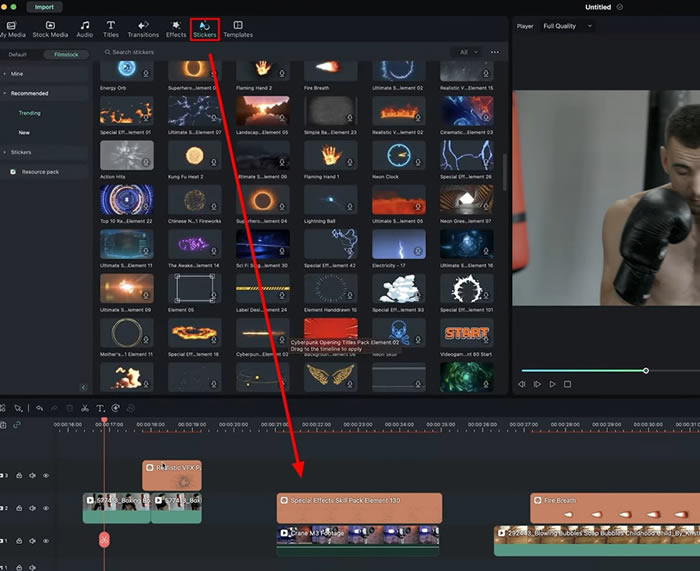
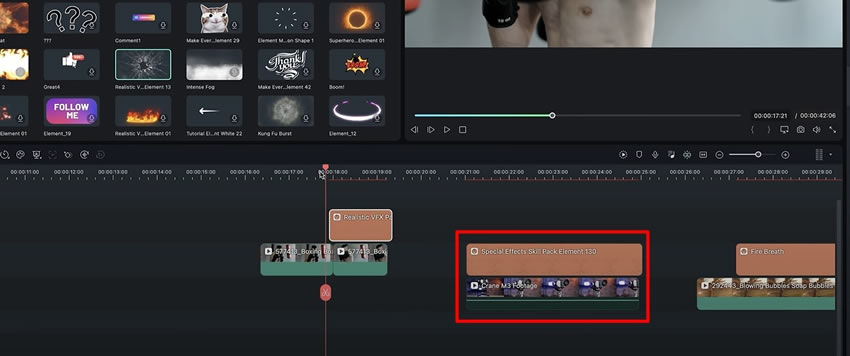
Dopo aver completato VFX, selezionalo e posizionalo sulla sequenza temporale sopra il video. Posiziona questo VFX direttamente sopra il video esattamente dove vuoi applicare questo effetto. Riproduci per verificare che l'effetto sia applicato correttamente.
If you want to relocate the VFX in the video, you can simply select it or the upper layer from the preview panel. Following this, change its position by dragging it on the place of this effect right at the position or object in the video, and the effect is ready.
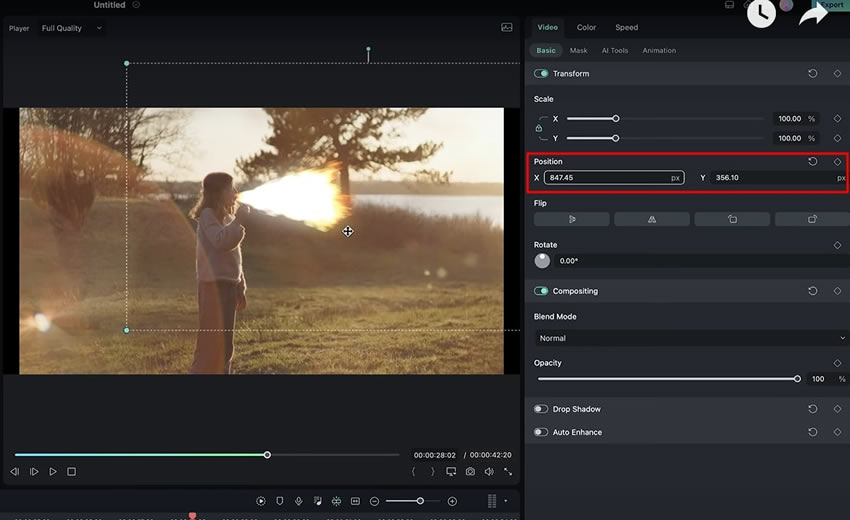
You can also add the moving effects on the moving objects in the video as well. Double-click the effect and go to the right panel to adjust its "Position" over the moving object. From the "Video" tab, go to "Basic” and change the “Position” of your effect from “X” and “Y.”
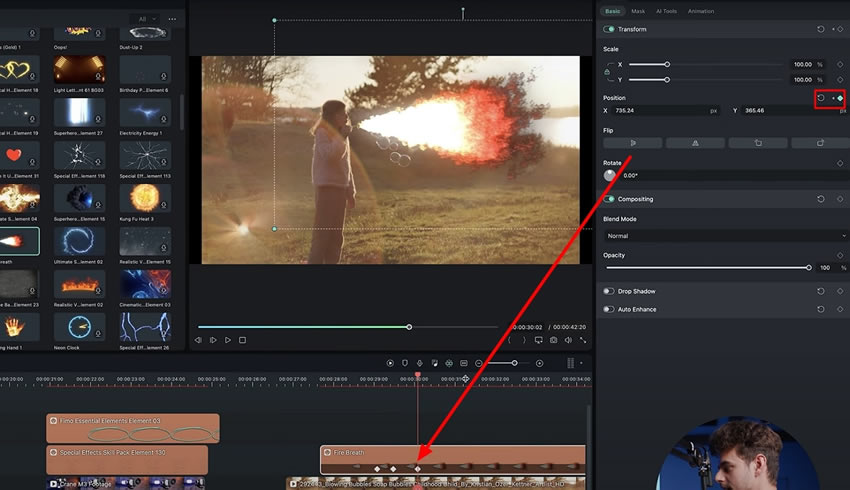
To make this applied effect move along the object in the video, you can add a keyframe to this effect. Hit the keyframe icon in front of the "Position" and add multiple keyframes on the clip. Playback to check the final results and create easy VFX using WF.
In this guide, we have learned about the VFX features that F offer and learned the functionality of these features. F cannot only track the moving objects but can also add stickers on these objects in the video. Enjoy these features of F and spice up your videos by adding efek VFX ajaib.
Altri corsi di Giuliano per Master in Cinema