Come creare una guida introduttiva scritta a mano in Filmora
L'introduzione estetica ha attirato l'attenzione del pubblico sin dall'inizio. Ecco i passaggi per aggiungere un'introduzione estetica scritta a mano al video usando Wondershare Filmora.
Key Steps of This Video Tutorial To Follow
Guide to using Filmora AI Tools
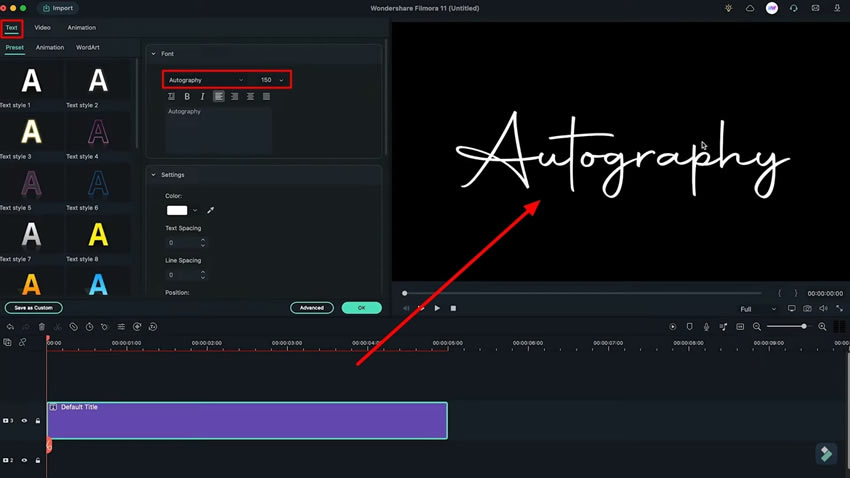
To get handwritten signatures on Filmora, select the “Titles” section from the top and add “Default Title” to the timeline. To edit the added title, double-click, and it will open a new window pane. While staying within the “Text” section, you can choose the “Font” and “Size” of your text as desired. You can get the idea of signature fonts from the internet as well.
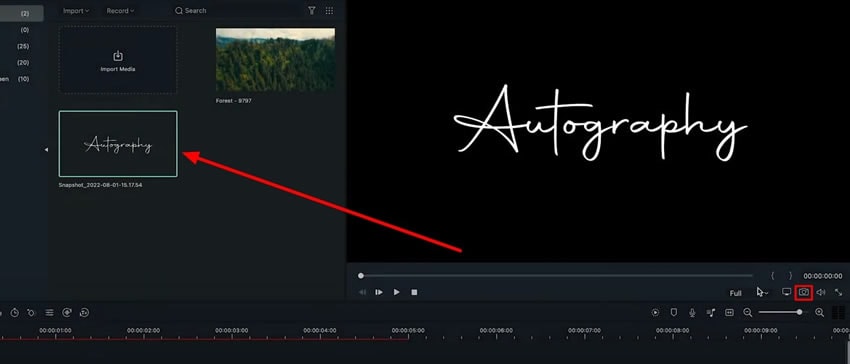
To save the text as an image, take a snapshot using the “Camera” button and save the file in a “PNG” format. In this way, the background will be avoided, and you will only get the text for further use.
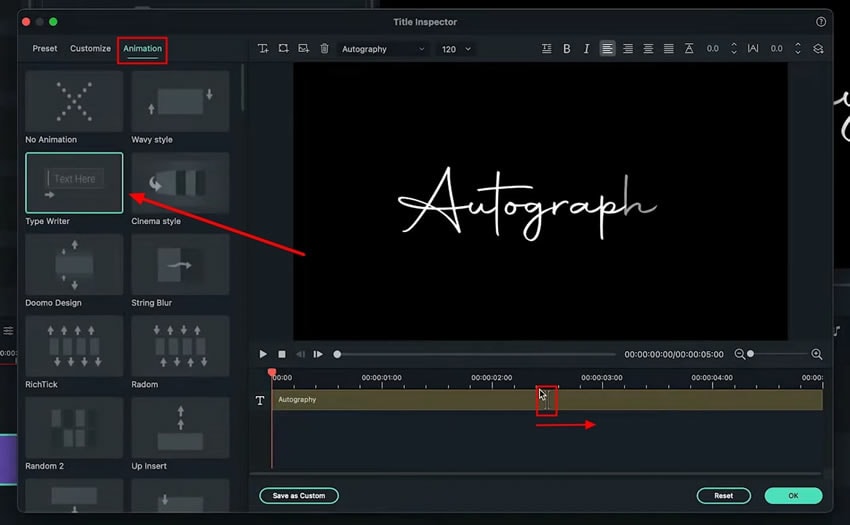
When it comes to how to create animated signature, double-click on the title track and navigate to its “Advanced” settings. A new window will appear on the screen from where you have to navigate into the “Animation” tab. Continue to select the “Type Writer” animation effect for the title track. Set the ending and starting point of the animation by simply dragging both the points of the animation effect to the right side.
After adding animation to your text, hide the title using the "icon" present on the left side of the timeline. Drag the snapshot over the title track and double-click this to enter its settings. From the “Video” tab, continue into the “Mask” section.
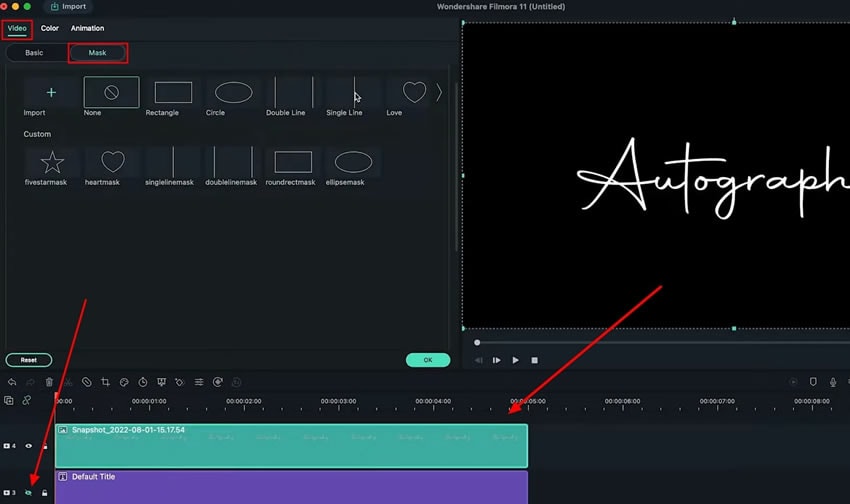
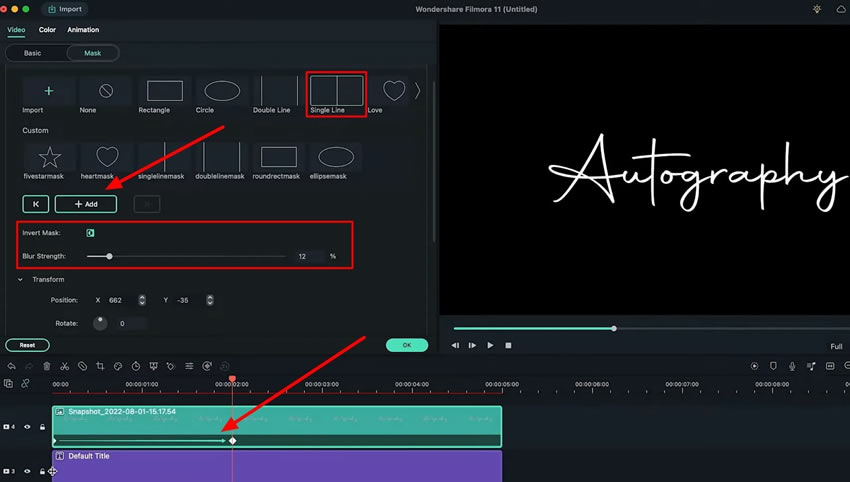
Select the “Single Line” masking style from the settings that open and turn on the “Invert Mask” option. To cover the complete snapshot, drag the line towards the left from the preview window and increase the “Blur Strength” as required. Add a keyframe at the beginning of the “Snapshot,” and after two to three seconds in frames, drag the line towards the right within the preview window to reveal the title.
Maintenant, "Démasquez" la piste de titre originale de la chronologie et coupez quelques images supplémentaires au début. Retournez à l'onglet "Mes médias" et ajoutez la vidéo que vous souhaitez ajouter en arrière-plan à la chronologie.

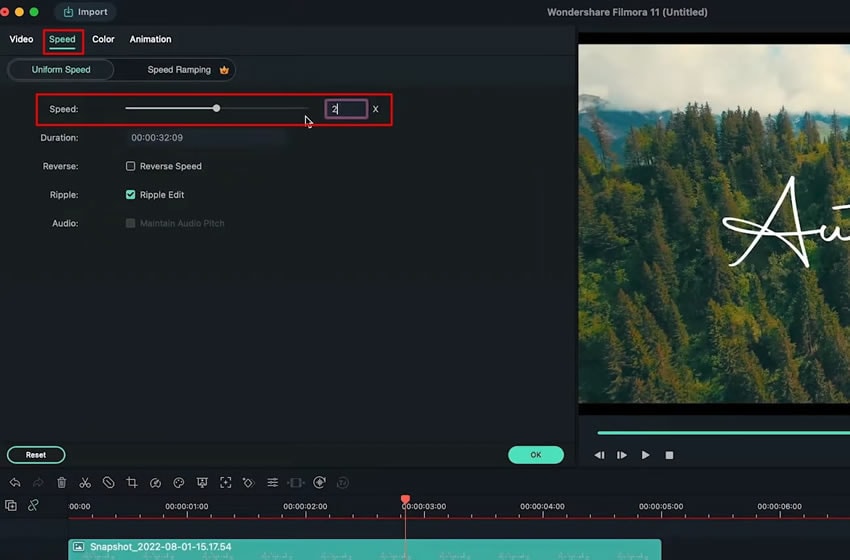
Per regolare il video di sfondo, fare clic con il pulsante destro del mouse per aprire il menu a discesa. Seleziona "Velocità uniforme" dall'elenco e vai al pannello aperto. Vai alla sezione Velocità uniforme e cambia il cursore in base all'opzione Velocità. Trascina la firma sulla sequenza temporale verso destra e posizionala al centro del video di sfondo.
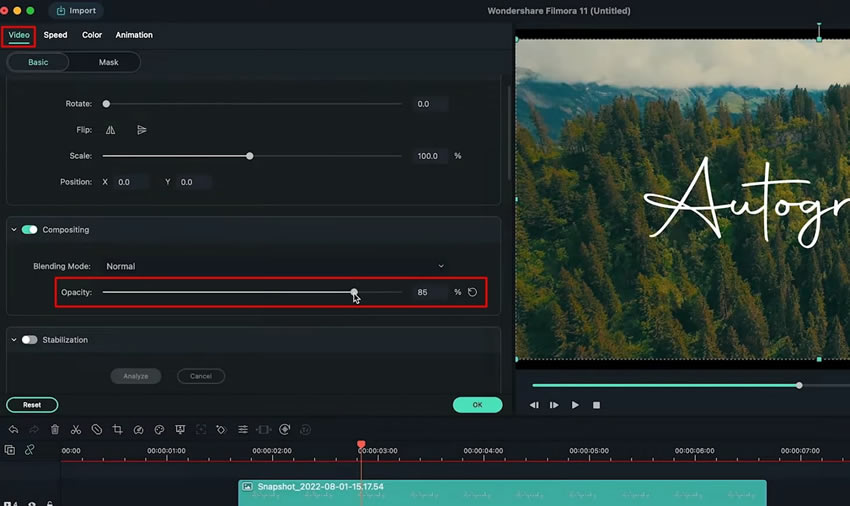
Fare doppio clic sulla traccia video di sfondo della sequenza temporale per inserirne le impostazioni. Dalla scheda Video, regola l'opacità del video di sfondo.
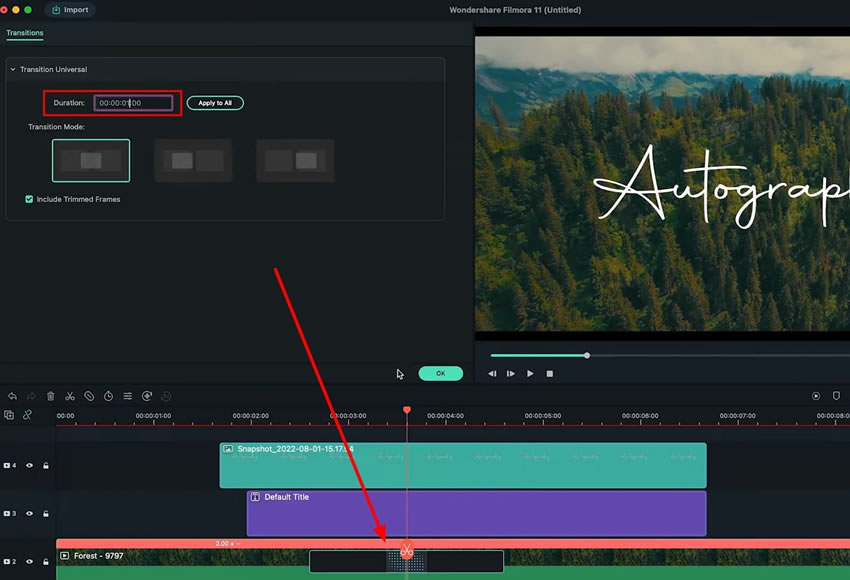
Se vuoi aggiungere una "transizione" al tuo video, usa l'icona delle forbici per dividere il video dalla sequenza temporale. Vai alla scheda Transizione e seleziona la transizione che desideri. Dopo aver aggiunto una transizione, puoi regolare la "durata" della transizione facendo doppio clic sull'effetto.
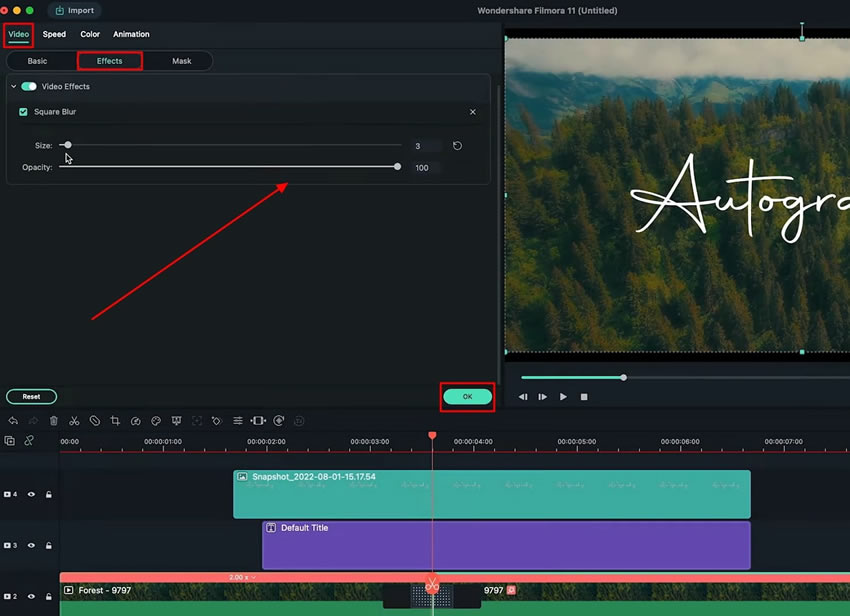
Se vuoi aggiungere altri effetti al tuo video, vai alla scheda Effetti, seleziona l'effetto che hai scelto e trascinalo su Video nella sequenza temporale. Quando accedi alle sue impostazioni, vai alla sezione "Video", vai alla sottocategoria" Effetti "e regola le impostazioni di conseguenza. Selezionare OK per salvare tutte le impostazioni degli effetti video.
Wondershare Filmora in qualsiasiTitolo VideoEditor. Quando si crea una scrittura a manoIntroduzione al videoHai bisogno degli elementi giusti per fare qualcosa che sembra fantastico. Con tutte le opzioni offerte da Filmora, la chirurgia non solo diventa semplice, ma anche attraente sotto tutti gli aspetti.