Guía sobre cómo crear un efecto de barrido de luz (brillo)
Hay formas ilimitadas de hacer que tus textos de video sean creativos. Aquí tienes una guía sobre cómo puedes crear un efecto de barrido de luz con Wondershare Filmora.
Key Steps of This Video Tutorial To Follow
Guide to using Filmora AI Tools
Inizia a fare il tuo...light sweep effect, let’s begin with adjusting the project resolution first. For this navigate the “File” tab from the top toolbar to open a drop-down menu. From there you need to select the “Project Settings” options which will give you access to multiple project customization settings. There, you can adjust the “Resolution” and “Frame Rate” according to your requirements.
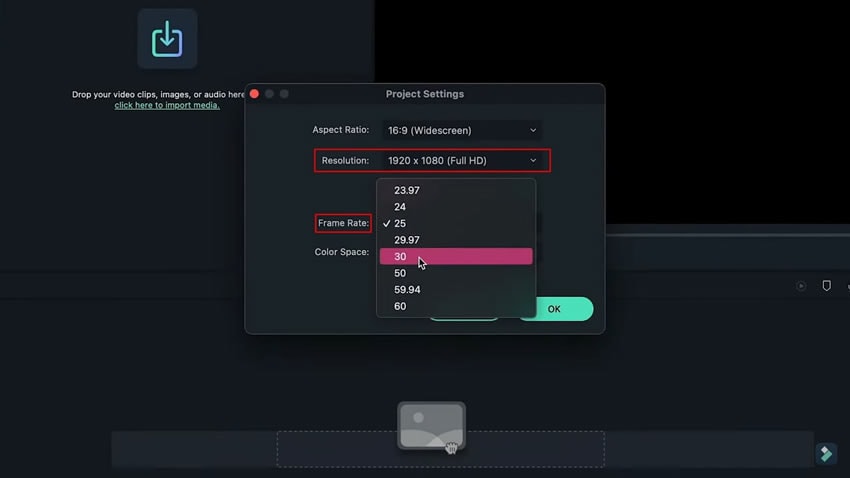
In this case we are keeping the “Full HD” quality with “60 FPS” frame rate. After adjusting the frame rate and resolution, you can begin with adding the titles in your video. For this, navigate to the “Title” tab from above to open different title options in the window pane on the left.
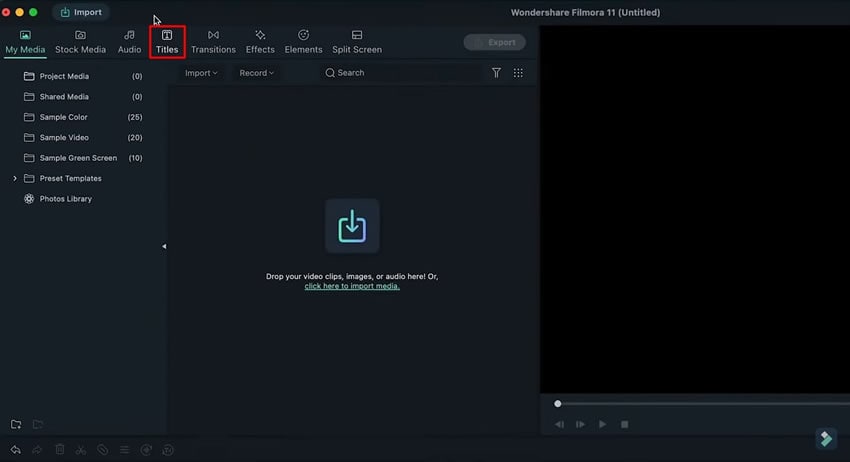
You can select your desired title and drop it in the main timeline. After this, double-click on it to access its customization settings. From there you can select the “Advanced” settings option for changing the features of the title. This includes the addition of text, change of size, font and color of the text.
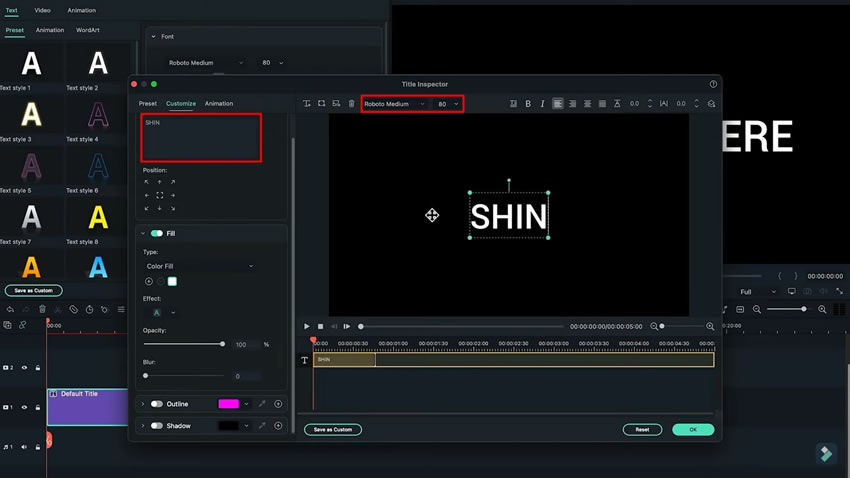
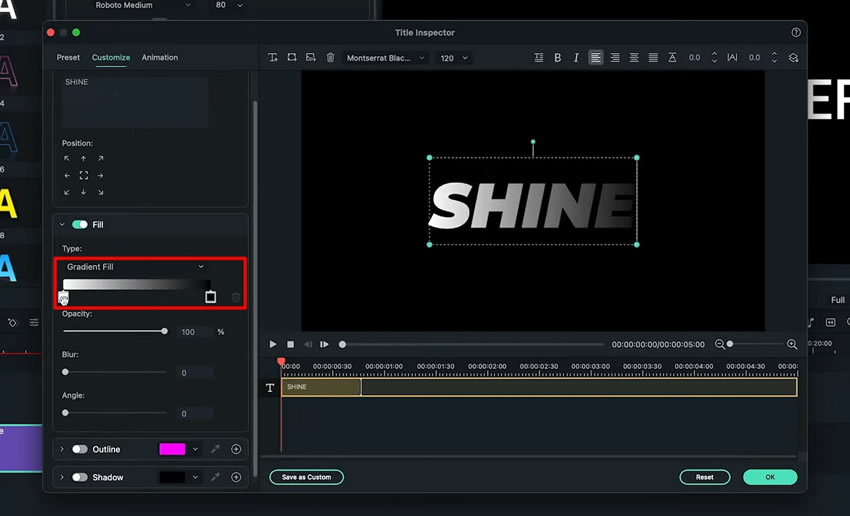
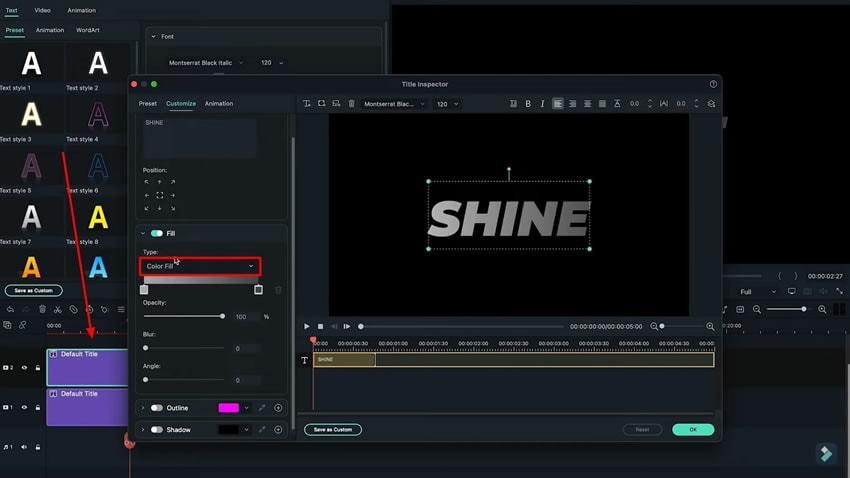
Following the basic changes in the title, continue to change the “Fill” type to “Gradient Fill.” Set the gradient color of the title according to your requirements and click “OK” to save all title customization settings.
As you lead back to the main editing interface, right-click on the title to copy and paste it on another track. Double-click on the added title and access its “Advanced” customization settings. Change the color type to “Color Fill” which will convert the color of the title to white automatically.
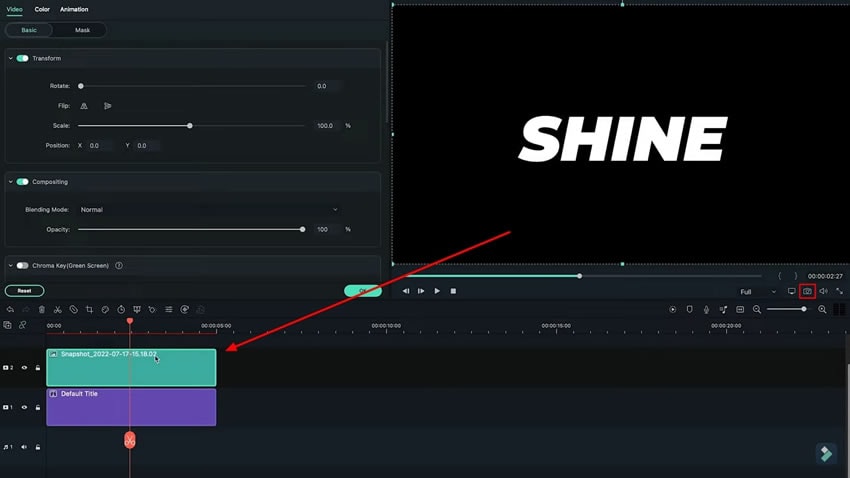
Take a snapshot of the image using the “Camera” button at the bottom of the preview screen. Ensure to save the image in “PNG” format and delete the title present on the second layer. Place the snapshot on the same layer where you’ve deleted the title and double-click to open its settings.
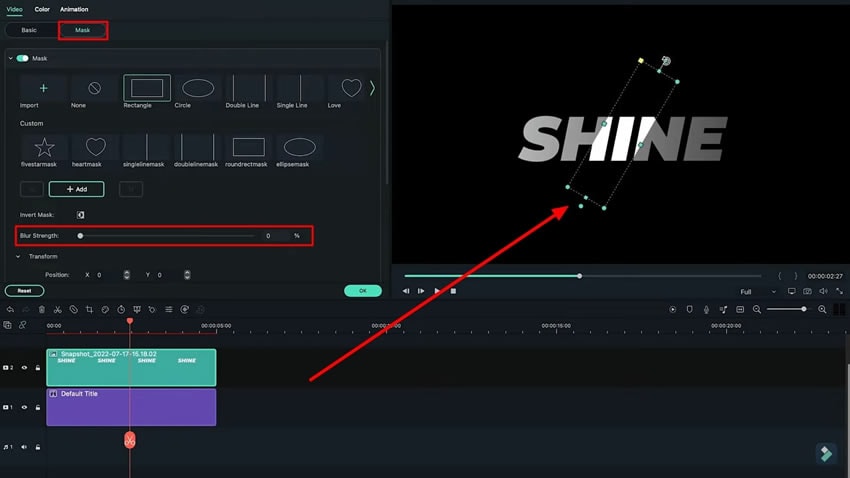
Pour créer un effet de brillanceEffet Filmora sur le titre, continuez dans la section "Masque" pour accéder à ses options. Sélectionnez le masque souhaité à cet effet et ajustez sa position à l'écran de prévisualisation. Modifiez la taille et la valeur de "Rotation" à partir des paramètres. Ensuite, utilisez le curseur pour augmenter ou diminuer les paramètres de "Force de flou".
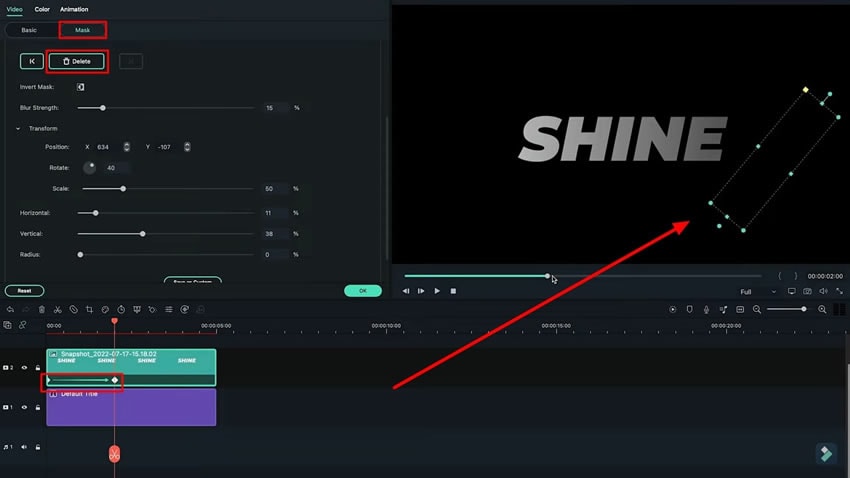
Une fois que vous avez ajusté les paramètres du masque ajouté, changez sa position et passez à la modification de sa position. Pour cela, vous devrez ajouter des images-clés sur la forme de votre masque et cliquer sur le bouton "Ajouter" pour ajouter une image-clé. Déplacez votre tête de lecture et modifiez la position de la forme de votre masque et ajoutez une autre image-clé. Cela crée finalement unelight sweep effect animation sur le titre.
Si vous utilisez une couleur différente dans le texte, vous devrez également changer la couleur du texte brillant en fonction de la couleur que vous avez choisi pour le titre. Pour cela, vous pouvez suivre les mêmes étapes ci-dessus pour créer l'animation de brillance dans différentes couleurs. Après avoir effectué toutes les étapes, vous pouvez finaliser votrelight sweep effect.

Créer un effet de brillance à l'aide de Filmora peut vous aider à gagner du temps et des efforts. Vous pouvez également améliorer votre contenu et augmenter finalement la rétention de votre public en leur offrant une expérience d'effets cool et fluide dans votre contenu. En suivant ces étapes, vous pouvez savoirCome creare un effetto di scansione della luce in Filmora.

