Ever wonder why some videos look perfect? How are some videos filmed on the first attempt? This is the part where a storyboard for videos is used. The concept of creating a storyboard is like magic because it has changed the world of filming videos.
This idea might be a little new to a few people. The article under study is the perfect platform to learn about how to create a storyboard. After reading this article, you will surely encourage the use of storyboards for videos.
Part 1. What is a Video Storyboard?
While planning a video, we have millions of thoughts in our minds, but it’s hard to keep things synchronized at the time of filming. The best thing to help in such a situation is to create a storyboard. Sketching the thoughts on your mind, the sequence of characters and activities is known as a video storyboard. It represents how your video will unfold.
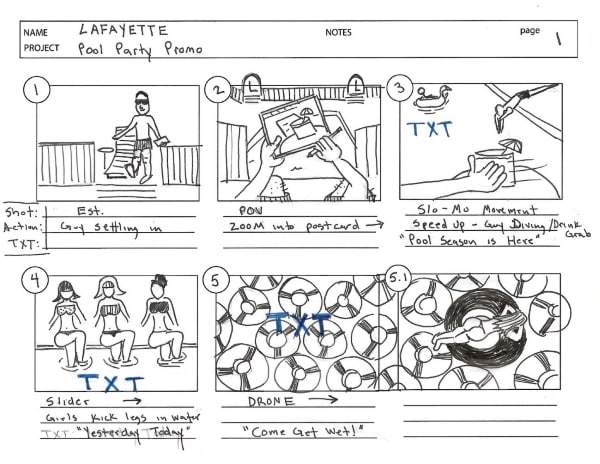
Creating a storyboard simplifies the process of video making. It aids in explaining your video concept to help other people. They can easily understand your idea if it is sketched before filming. Create a storyboard to show the subject, type of shot, and movements that the viewer will see.
Part 2. Is Storyboard Very Important to Make Good Videos?
Using Video storyboard templates can make magical changes in your video. Storyboards have multiple advantages. The following section will highlight the significance of using a video storyboard.
1. Better Planning
Creating a storyboard for video helps you plan things better as we are sketching the rough thoughts from our minds on paper. This gives them a shape and sequence. Once we see our thoughts compiled, we plan things accordingly, which eventually aids in creating a better video due to good planning.
2. Organized Shots
Planning is an essential key to everything. So is creating a video storyboard important for better and quality shots. If we create a storyboard for any video, then it helps while filming as the shots are very organized. We clearly know the sequence in which the shots need to be filmed. Everything is smooth and streamlined. Things are very synchronized.
3. Saves Time and Budget
As mentioned earlier, things are very organized and synchronized if we create a storyboard, which automatically protects you from wasting time by filming unwanted content. Not only that, but video storyboard also contributes to saving extra budget.
4. Early Detection of Errors
During the storyboard for the video phase, we can easily detect errors. Any error related to narration, media, or anything could be identified and fixed. Which hence, saves time and helps in creating a cool video.
Part 3. How to Create Storyboard in An Easy Way?
All the information shared by far in the above sections must have convinced you to use storyboards for videos. The next phase of this article aims to share easy steps. You can simply follow these steps and achieve a quality video.

Step 1: Define the Goal for the Video
The essential step before you start creating your storyboards is to define the goals of your video. You should firstly know the reason that why do you want to film this video? What are the factors that caused the production of this video in the first place?
Step 2: Think about Video Ideas
After the goal has been finalized, the next step demands you to brainstorm. You have to think with an open mind to let the ideas follow from your mind. Think and brainstorm as much as you want to. At last, make sure you write down all your ideas. Don't even miss the most terrible idea. Later compare and combine the different ideas to make something worthwhile.
Step 3: Sketch a Timeline
Once you are satisfied with the goals and brainstorming ideas, it’s time to create a timeline. At this phase, you should identify the beginning, the middle, and the end of the video. Important transitions should also be identified. Keep in mind that the idea remains in flow and everything makes sense.
Step 4: Start Drawing
As the idea is completed, the thinking has been performed, and now it’s the perfect time to start the drawing process. You can either use paper and pencil to draw and sketch the mind map. Or else, you can also use any video storyboard template for free.
Step 5: Add Details
After the drawing has been completed, now it's time to add some details to the storyboards. You can add any scene-related detail. You can add some extra notes to supply proper and complete information to the viewer.
Step 6: Feedback and Revision
If there are other people working on the same storyboards, it is highly suggested to get someone else's feedback. After you have received the feedback, it's the perfect time to Revise your work if you have received any negative feedback.
Part 4. What Does a Good Storyboard Look Like?
A good storyboard for video will contribute to making a good video. You might be confused about how a storyboard could be good, but here are a few tips that will make sure that your storyboard is good.
It is essential to name your project from the beginning. If you haven't finalized any name yet, then use a working title.
Make sure you mark every scene with a scene number so that they match with the script at the time of filming.
Another important thing is to number the pages because your scene might be small, but the storyboard covers pages.
Your shots must be assigned with a number, too, as it keeps track and things stay organized.
Although the storyboard for the videois self-explanatory yet adding a little description is highly appreciated.
It is suggested to use rectangles that are of the same aspect ratio as your video, 16:9.
Bonus Tips: How to Plan and Storyboard a Music Video?
If you are looking for editing software, then this is the right place to learn. FilmoraPro by Wondershare is the most powerful editing software in the market today. It is simple and intuitive. You can easily change the layout and labels. FilomoraPro lets you customize the animations so that you can establish your style. It has many more advanced features.
Allow us to share the steps to use it:
Step 1: Import the Storyboard
First of all, take the pictures of the video storyboard from your cell phone and then import those images to your computer. You can also do a preliminary edit to check that how the scene works with the song.
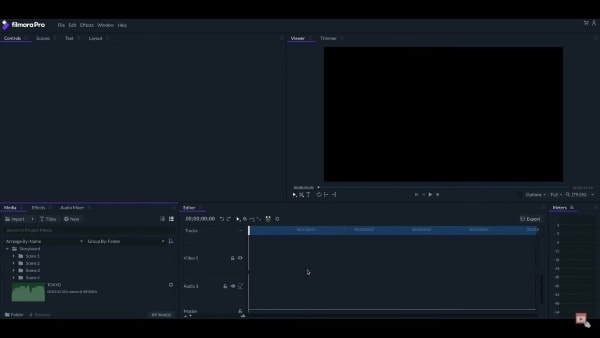
Step 2: Drag the Song and Shots
You can stay organized by arranging the scenes in the folders accordingly. Now simply drag the song into the timeline. After that, you can drag the shots one after another to start pacing out the video.
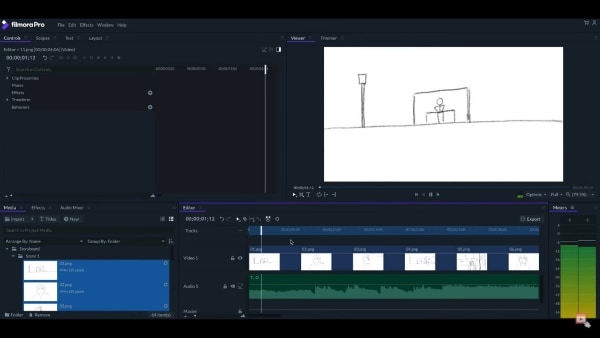
Step 3: Editing the Video
Let the music naturally guide you on how to cut and edit the shots. You can play with transitions, zooms, and pans. For that, you should visit the 'Effects' panel and play with the keyframe and scale of the clips.
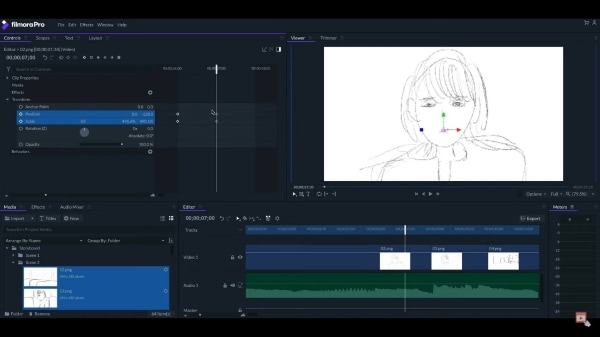
You can edit and make changes until you are satisfied. Once the final video seems perfect and the video flows, then you should start preparing for the production of the music video.
Final Words
The article above aimed to discuss the video storyboarding template. Starting from what a storyboard is, its significance, steps, and everything related to the video storyboard have been discussed. Not only that but a brilliant editing software, Wondershare FilmoraPro, has also been introduced. This software will be a game-changer because of its amazing features.
Versatile Video Editor - Wondershare Filmora
An easy yet powerful editor
Numerous effects to choose from
Detailed tutorials provided by the official channel
 Garanzia di Download Sicuro, zero malware
